A bag of fun-size candy runs somewhere around $5 to $10 these days depending on the store, and at a party it lasts about four minutes. That bag is the benchmark for this whole list.
Every treat below makes a full batch for roughly the same money or less, using pantry staples, clearance candy, and the dollar-store baking aisle. Most of them feed a lot more people than one bag of candy ever could.
Prices are ballpark estimates and swing by region and store, so treat them as a rough guide rather than a receipt. They’re counted down to the best value on the list, and one entry near the top comes with a warning, because not every classic is actually a bargain once you count the failed batches.
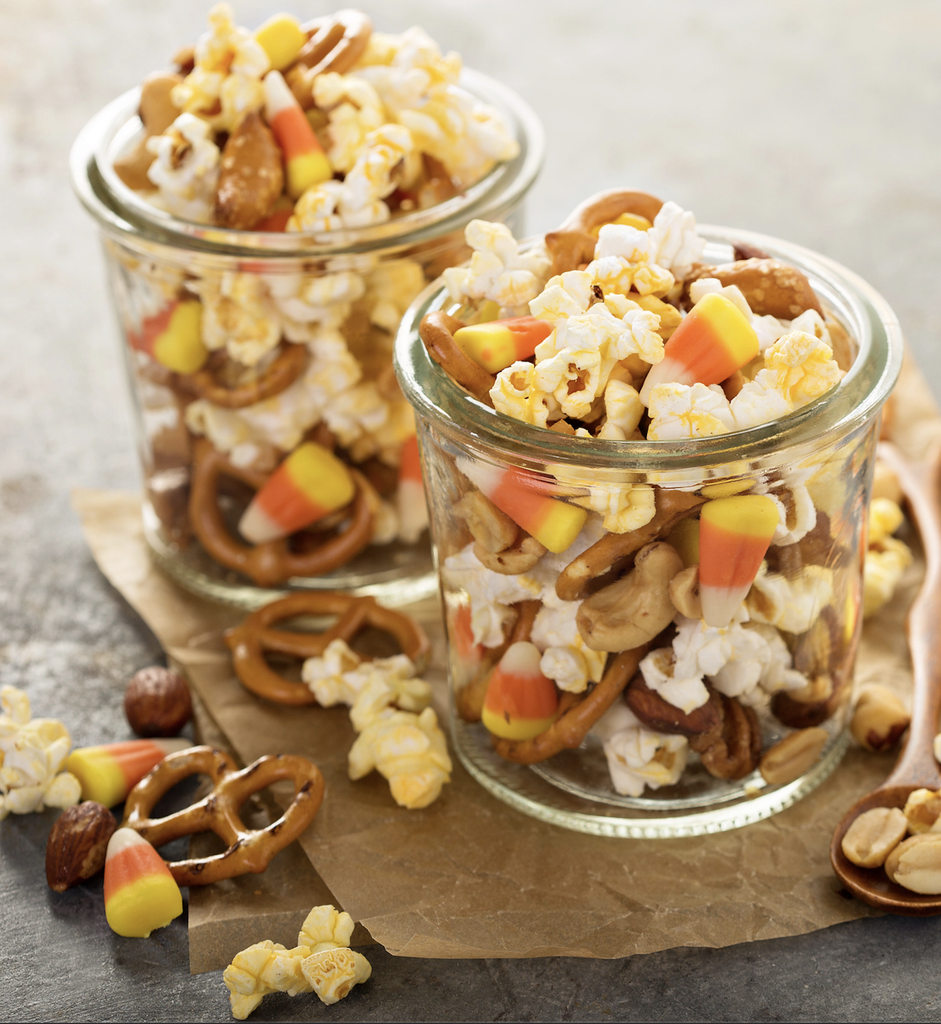
17. Candy Corn Trail Mix
Four ingredients, one bowl, and zero cooking. The salty-sweet combination tastes a lot like a certain famous peanut candy bar at a fraction of the price per ounce.
Batch cost: roughly $6 to $9 for about 8 cups, and less if the peanuts and pretzels come out of big bags you already own.
What you need (makes about 8 cups):
- 2 cups candy corn
- 2 cups salted dry-roasted peanuts
- 2 cups mini pretzel twists
- 2 cups popped popcorn, lightly salted
How to make it:
- Pop the popcorn and let it cool completely so it doesn’t soften the candy corn.
- Combine everything in a large bowl and toss with a big spoon or clean hands.
- Portion into snack bags or store in a sealed container for 3 to 4 days.
For nut-free classrooms, swap the peanuts for roasted pumpkin seeds from number fourteen. If you’re making it more than a day ahead, hold the popcorn back and stir it in the morning of, since it goes stale first. Pre-bagging portions also stops the bowl-hovering that wipes out a batch before guests arrive, one of those cheapskate tricks that actually work far beyond Halloween.
16. Candy Eyeball Pretzels
Mini pretzels dipped halfway in colored candy coating, each with a single candy eyeball stuck on top. One eye is funnier than two, and it’s half the cost.
Batch cost: roughly $6 to $8 for 50 to 60 pieces, which works out to around a dime each.
What you need (makes 50 to 60):
- 12 oz candy melting wafers in orange, green, or purple
- About 60 mini pretzel twists
- 60 small candy eyeballs
How to make it:
- Line two baking sheets with wax paper.
- Microwave the melting wafers in a microwave-safe bowl in 30-second bursts, stirring between each, until smooth. Plan on 90 seconds to 2 minutes total.
- Dip each pretzel halfway, let the extra drip off, and lay it on the sheet.
- Press one eyeball onto the coating before it sets.
- Let them firm up for about 20 minutes at room temperature, or 10 in the fridge.
The candy eyeballs end up being the priciest part of this recipe, so buy the big tub instead of the tiny bottles in the seasonal aisle. That’s one of the things that cost way less than you think once you stop buying the smallest package on the shelf.
15. Pretzel Rod Wands
Pretzel rods dipped deep in candy coating and rolled in Halloween sprinkles. Bag them in cellophane with a ribbon and they double as party favors.
Batch cost: roughly $7 to $10 for about 24 wands, favor bags included if you grab them at the dollar store.
What you need (makes about 24):
- 1 bag (10 oz) pretzel rods
- 12 oz candy melting wafers
- 1/2 cup Halloween sprinkles
- Cellophane treat bags and ribbon (optional)
How to make it:
- Melt the wafers in a tall microwave-safe mug or glass in 30-second bursts, stirring between each, so you can dip deep.
- Dip each rod about two-thirds of the way, then turn it slowly over the mug to drain.
- Hold it over a plate and shake sprinkles over the wet coating.
- Stand the rods in a tall glass with an inch of dry rice or beans in the bottom, or lay them flat on wax paper.
- Let them set for about 30 minutes before bagging.
Store-bought party favors cost more per kid than this whole batch. It’s the same trick behind gifts that look expensive but aren’t: the wrapping does most of the work.
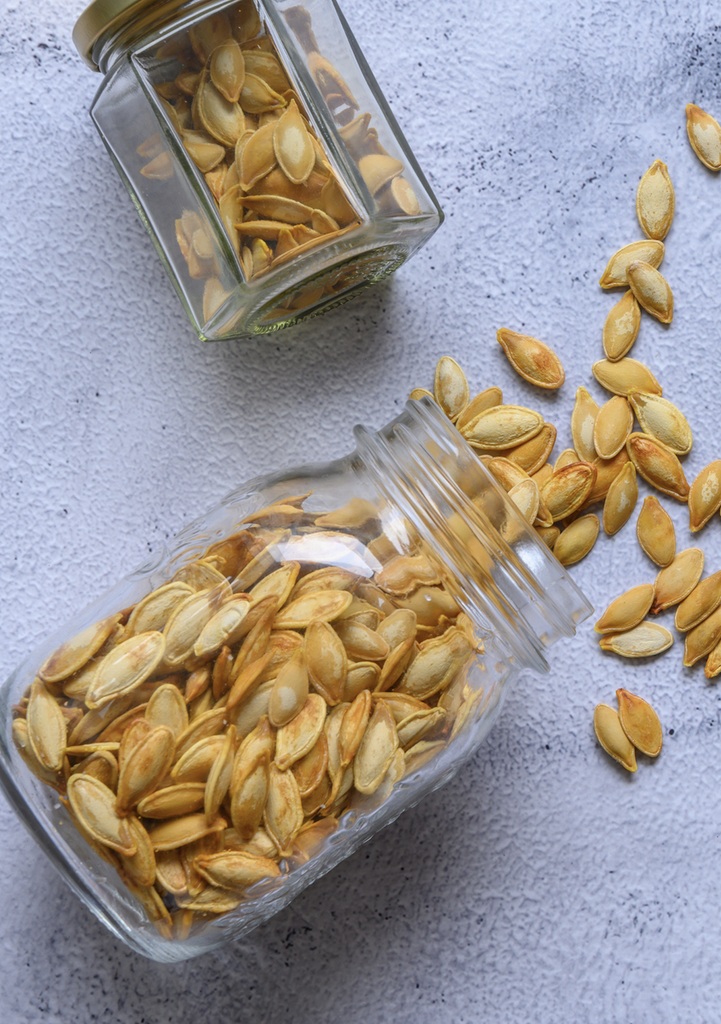
14. Roasted Pumpkin Seeds
If you’re carving a jack-o’-lantern anyway, this snack is basically free. The only real cost is a spoonful of butter and a pinch of salt.
Batch cost: close to zero with a pumpkin you already bought, around a dollar for butter and seasoning.
What you need (makes about 1 cup):
- Seeds from 1 medium carving pumpkin
- 1 tablespoon melted butter or olive oil
- 1/2 teaspoon salt
- Optional: 1/4 teaspoon garlic powder, or a spoonful of cinnamon sugar for a sweet version
How to make it:
- Heat the oven to 325°F.
- Drop the seeds and pulp into a big bowl of water. The seeds float and the pulp sinks, which saves a lot of picking.
- Pat the seeds very dry with a towel. Wet seeds steam instead of crisping.
- Toss with butter and salt, then spread in a single layer on a baking sheet.
- Roast 25 to 35 minutes, stirring every 10 minutes, until golden and crunchy. Let them cool on the pan.
Throwing out the seeds from carving night is the kind of small waste older generations never tolerated. Put them on the same list as the things frugal grandmothers never threw away.
13. Cinnamon Sugar Tortilla Bats
Flour tortillas cut into bats, brushed with butter, and baked with cinnamon sugar. They taste a lot like the fried cinnamon-sugar desserts at Mexican restaurants, baked instead of fried, for pocket change.
Batch cost: roughly $3 to $4 for about 30 bats.
What you need (makes about 30):
- 8 flour tortillas (8-inch)
- 3 tablespoons melted butter
- 1/4 cup sugar mixed with 1 tablespoon cinnamon
- A bat-shaped cookie cutter (a star or circle works fine too)
How to make it:
- Heat the oven to 350°F and line a baking sheet with parchment.
- Cut shapes from the tortillas, getting three or four per tortilla.
- Brush both sides lightly with butter and sprinkle with cinnamon sugar.
- Bake 8 to 10 minutes until crisp and lightly golden at the edges.
- Cool on the pan. They keep crisping as they cool.
Bake the scraps too, since they taste exactly the same. These are also the best dipper for the pumpkin dip at number six.
12. Monster Munch Snack Mix
Cereal squares coated in chocolate and peanut butter, shaken in powdered sugar, then mixed with orange and purple candy-coated chocolates. A big bowl costs about what two bags of candy do and feeds a whole room.
Batch cost: roughly $10 to $13 for about 10 cups.
What you need (makes about 10 cups):
- 9 cups rice or corn cereal squares
- 1 cup semisweet chocolate chips
- 1/2 cup creamy peanut butter
- 1/4 cup butter
- 1 teaspoon vanilla
- 1 1/2 cups powdered sugar
- 1 cup orange and purple candy-coated chocolates
- 1/4 cup candy eyeballs
How to make it:
- Pour the cereal into a large bowl.
- Microwave the chocolate chips, peanut butter, and butter for 1 minute, stir, then heat 30 seconds more if needed until smooth. Stir in the vanilla.
- Pour over the cereal and fold gently until everything’s coated.
- Working in two or three batches, shake the coated cereal with the powdered sugar in a gallon zip-top bag.
- Spread on wax paper to cool, then stir in the candies and eyeballs once it’s fully cool so they don’t melt.
For a nut-free batch, swap the peanut butter for sunflower seed butter. It keeps about a week in an airtight container. If the candy-coated chocolates taste a little different than you remember, you’re not imagining it, since plenty of childhood snacks quietly changed over the years.
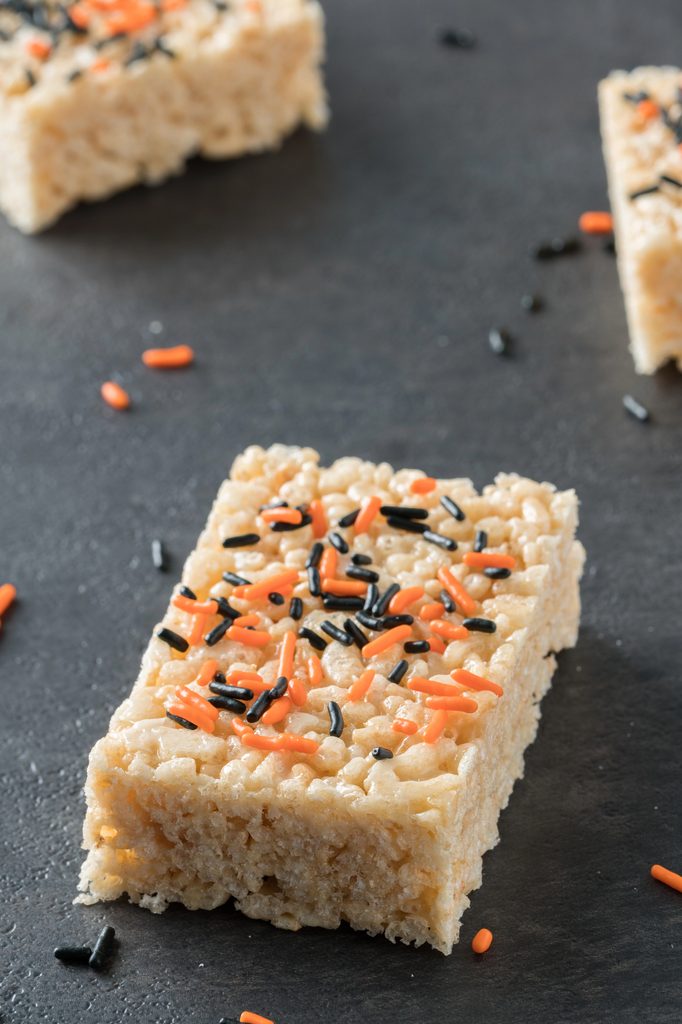
11. Monster Crispy Rice Treats
The classic marshmallow cereal bar, dyed green or purple, with candy eyeballs pressed into the top. Mismatched eye sizes make better monsters.
Batch cost: roughly $6 to $8 for a 9×13 pan, about 24 squares.
What you need (makes 24 squares):
- 3 tablespoons butter, plus extra for the pan
- 1 bag (10 oz) mini marshmallows
- 6 cups crispy rice cereal
- Green or purple gel food coloring
- About 1/3 cup candy eyeballs in mixed sizes
How to make it:
- Butter a 9×13 pan.
- Melt the butter in a large pot over low heat, add the marshmallows, and stir until fully melted.
- Take the pot off the heat and stir in food coloring a little at a time until the color is even.
- Fold in the cereal until coated.
- Press into the pan with buttered hands or a sheet of wax paper, then press the eyeballs in while it’s still warm.
- Cool about an hour and cut into 24 squares.
Store-brand cereal works fine here, and once it’s covered in green marshmallow nobody can tell. Generic cereal is a regular on the list of things frugal people refuse to buy at name-brand prices.
10. Crispy Rice Pumpkins
Same base recipe as number eleven, tinted orange and rolled into balls instead of pressed in a pan. A pretzel stick stem and a green frosting leaf finish each one.
Batch cost: roughly $6 to $8 for about 16 pumpkins.
What you need (makes about 16):
- 3 tablespoons butter, plus extra for your hands
- 1 bag (10 oz) mini marshmallows
- 6 cups crispy rice cereal
- Orange gel food coloring
- 8 pretzel sticks, broken in half
- Green decorating icing
How to make it:
- Melt the butter and marshmallows over low heat, then stir in orange coloring off the heat.
- Fold in the cereal.
- Let the mixture cool 3 to 5 minutes, just until you can handle it.
- Butter your hands and roll into balls about the size of a golf ball, using roughly 1/3 cup each.
- Push a pretzel half into the top of each and pipe a small green leaf beside it.
Shape them while the mixture is still slightly warm. Once it sets, it cracks instead of rolling.
9. Spiderweb Chocolate Bark
Dark chocolate spread thin, white chocolate piped in circles, and a toothpick dragged outward to form a web. It looks like a bakery item and takes about ten minutes of hands-on time.
Batch cost: roughly $6 to $9 for a full sheet.
What you need (makes about 1 pound):
- 12 oz semisweet or dark chocolate chips
- 4 oz white chocolate chips or white melting wafers
- 1 teaspoon coconut oil or shortening (optional, for a smoother drizzle)
How to make it:
- Line a baking sheet with parchment.
- Melt the dark chocolate in 30-second bursts, stirring between each, and spread it into a rectangle about 1/4 inch thick.
- Melt the white chocolate with the oil, spoon it into a zip-top bag, and snip a tiny corner.
- Pipe four or five circles, one inside the other, starting from the center.
- Right away, drag a toothpick from the center outward about eight times, like the spokes of a wheel.
- Chill 30 minutes, then break into shards.
Work fast on the web step, since the white chocolate has to be wet for the drag lines to form.
8. Monster Bark
This is the bark for people who hate waste. Melted chocolate covered in whatever candy is rattling around the house: broken pretzels, candy corn, chopped candy bars, sprinkles, and a lot of candy eyeballs.
Batch cost: close to free if you’re using leftover candy, roughly $5 to $7 if you’re buying toppings.
What you need (makes about 1 1/2 pounds):
- 16 oz chocolate chips or melting wafers, any color
- 2 to 3 cups mixed toppings: broken pretzels, candy corn, candy-coated chocolates, chopped candy bars, sprinkles
- 1/4 cup candy eyeballs
How to make it:
- Line a baking sheet with parchment.
- Melt the chocolate in 30-second bursts, stirring between each, and spread about 1/4 inch thick.
- Scatter the heaviest toppings first and press them in lightly, then the lighter ones.
- Add eyeballs last so they sit on top.
- Chill 30 to 45 minutes and snap into jagged pieces.
Make a second batch in November with whatever the kids brought home trick-or-treating. Candy that sits in a bowl until it gets tossed in January is one of those small money leaks nobody bothers to count.
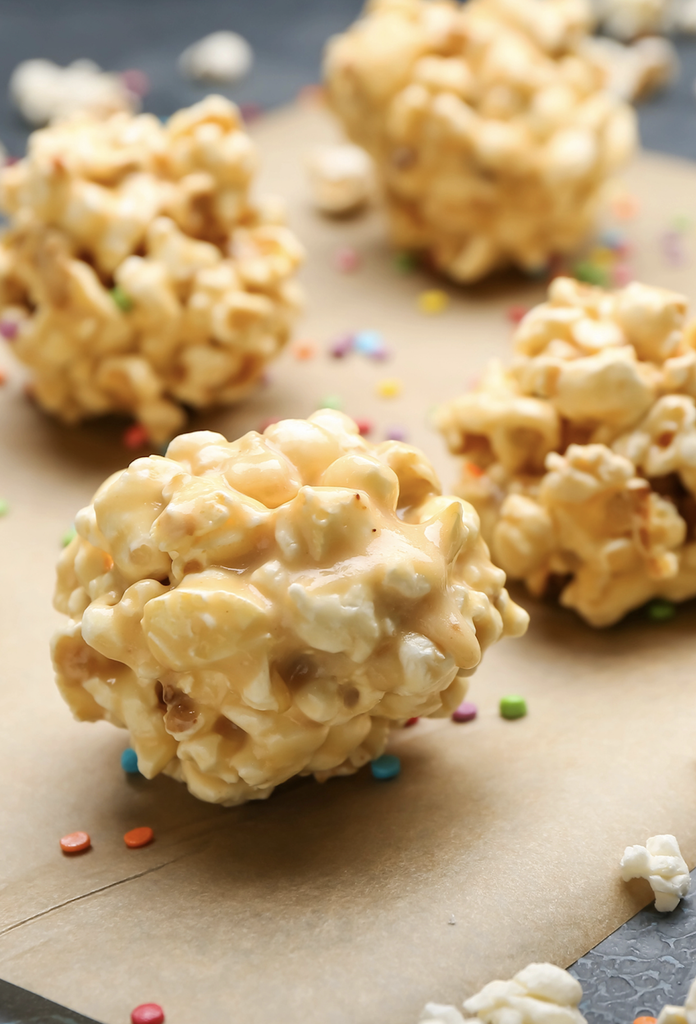
7. Orange Popcorn Balls
Popcorn is about the cheapest party food there is, and a marshmallow coating turns it into something kids will actually fight over. A little orange food coloring makes it Halloween.
Batch cost: roughly $4 to $6 for about 12 popcorn balls.
What you need (makes about 12):
- 12 cups popped popcorn (about 1/2 cup kernels)
- 1/4 cup butter, plus extra for your hands
- 1 bag (10 oz) mini marshmallows
- Orange gel food coloring
- 1/2 cup candy corn (optional)
How to make it:
- Put the popcorn in a large buttered bowl and pick out any unpopped kernels.
- Melt the butter and marshmallows over low heat, stirring until smooth, then stir in the coloring.
- Pour over the popcorn and fold with a buttered spatula. Add the candy corn if using.
- Let it cool 2 to 3 minutes, then shape into balls about 3 inches wide with buttered hands.
- Set on wax paper and wrap each in plastic once firm.
Popping loose kernels on the stove costs a fraction of microwave bags. Plenty of households used to own an air popper for exactly that reason, one of the things every 80s kitchen had that quietly saved money.
6. Pumpkin Dip
Cream cheese, canned pumpkin, powdered sugar, and pie spice, whipped until fluffy. It tastes like pumpkin pie filling and takes five minutes.
Batch cost: roughly $6 to $8, and it serves 10 to 12 as a dip.
What you need (makes about 3 cups):
- 8 oz cream cheese, softened
- 1 cup canned pumpkin puree (not pumpkin pie filling)
- 1 1/2 cups powdered sugar
- 1 1/2 teaspoons pumpkin pie spice
- 1 teaspoon vanilla
- Dippers: apple slices, graham crackers, ginger snaps, or the tortilla bats from number thirteen
How to make it:
- Beat the cream cheese with a mixer until smooth, about 1 minute.
- Add the pumpkin, powdered sugar, spice, and vanilla, and beat until fluffy, about 2 minutes.
- Chill at least an hour so the flavors settle.
It keeps 4 to 5 days in the fridge. Freeze the leftover pumpkin from the can in a zip-top bag instead of letting it grow fuzz, since half-used cans in the back of the fridge are a classic money leak hiding in plain sight.
5. Pumpkin Patch Brownies
Boxed brownies, chocolate frosting, crushed cookie “dirt,” and a candy pumpkin on every square. The decorating is the show, and the brownie is just the stage.
Batch cost: roughly $10 to $14 for 24 squares.
What you need (makes 24):
- 1 family-size box brownie mix for a 9×13 pan, plus the eggs, oil, and water on the box
- 1 tub (16 oz) chocolate frosting
- 10 chocolate sandwich cookies, crushed
- 24 candy pumpkins
- Green decorating icing
How to make it:
- Bake the brownies in a 9×13 pan following the box directions.
- Cool completely, at least an hour, or the frosting will slide.
- Spread the frosting and sprinkle the crushed cookies over the top.
- Cut into 24 squares, wiping the knife between cuts.
- Press a candy pumpkin into each square and pipe a small curly vine.
Boxed mix is not cheating. It lands on the list of money habits you don’t need to feel guilty about, since the time saved goes into the part people notice.
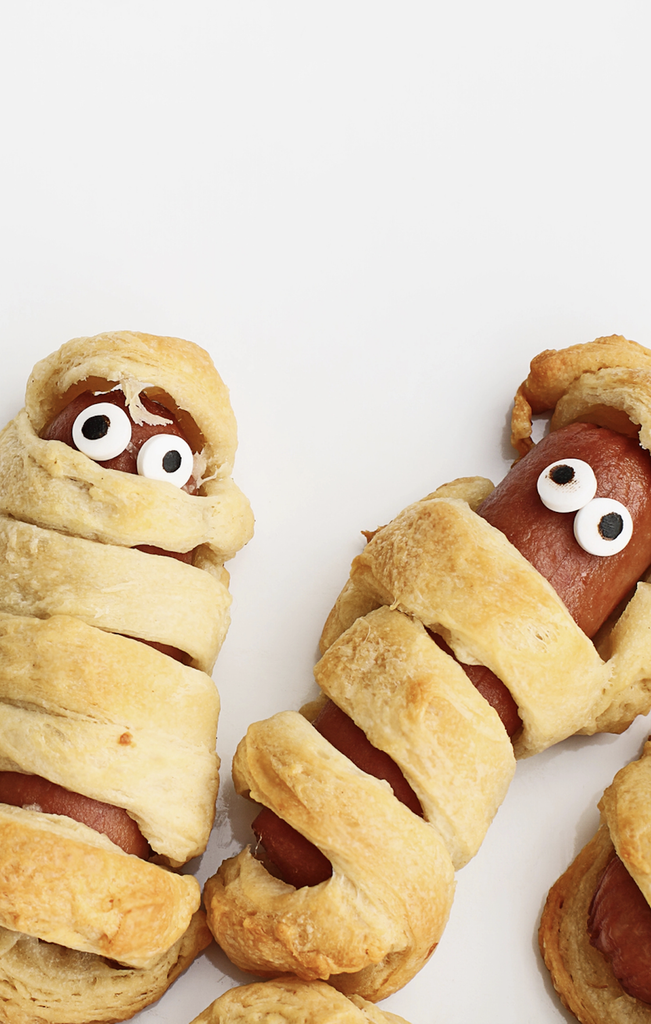
4. Mummy Hot Dogs
Hot dogs wrapped in strips of crescent dough and baked until golden, with mustard dots for eyes. Every party needs one savory thing, and this one doubles as dinner before trick-or-treating.
Batch cost: roughly $6 to $9 for 8 mummies.
What you need (makes 8):
- 1 can (8 oz) refrigerated crescent roll dough
- 8 hot dogs
- Yellow mustard or ketchup for the eyes
How to make it:
- Heat the oven to 375°F and line a baking sheet with parchment.
- Unroll the dough, pinch the seams together, and cut it into strips about 1/4 inch wide.
- Pat the hot dogs dry, then wrap each with strips in a loose crisscross, leaving a small gap near one end for the face.
- Bake 12 to 15 minutes until golden.
- Cool 2 to 3 minutes, then add two dots of mustard for eyes.
Make more than you think you need, since this tray empties first. It belongs in the same family as the cheap 90s dinners everyone forgot about: a few inexpensive ingredients doing all the work.
3. Caramel Apples, the Honest Entry
Here’s the warning from the intro. Caramel apples feel like a budget treat, but they’re the most expensive thing on this list per piece once you add up the apples, caramels, and toppings, often $1 or more each.
The bigger cost is failure. Caramel slides right off waxy supermarket apples, and a bad batch means buying everything twice.
Batch cost: roughly $8 to $12 for 6 apples, more if a batch fails.
What you need (makes 6):
- 6 medium tart apples
- 1 bag (11 oz) caramels, unwrapped
- 2 tablespoons milk
- 6 craft sticks
- Optional: 1 cup chopped peanuts or crushed cookies for rolling
How to make it:
- Remove the wax coating by dipping each apple in very hot (not boiling) water for a few seconds, then wiping it firmly with a towel.
- Dry them completely and chill for 30 minutes.
- Push a stick into the stem end at a slight angle, which holds better than straight down.
- Microwave the caramels and milk for about 2 minutes, stirring every 30 seconds, until smooth.
- Dip and twirl each apple, scrape the bottom on the bowl’s edge, and roll in toppings if using.
- Set on buttered wax paper and chill 15 minutes to firm up.
If the goal is the cheapest caramel-apple experience, slice the apples into rounds and drizzle caramel over them instead. You’ll get twice the servings from the same bag.
2. Mini Mummy Pizzas
English muffin halves topped with sauce, strips of string cheese laid crisscross like bandages, and olive slices for eyes. Kids who won’t touch anything else at a party will eat these.
Batch cost: roughly $6 to $8 for 12 mini pizzas.
What you need (makes 12):
- 6 English muffins, split
- 1 cup pizza or marinara sauce
- 6 mozzarella string cheese sticks, pulled into thin strips
- 1 small can sliced black olives
How to make it:
- Heat the oven to 425°F.
- Toast the muffin halves on a baking sheet for about 5 minutes so they don’t get soggy.
- Spread a spoonful of sauce on each.
- Lay cheese strips across in a loose crisscross, leaving a gap near the top for the eyes.
- Bake 5 to 7 minutes until the cheese melts, then press two olive slices into the gap.
This one replaces a delivery order for the kids’ table. Skipping even one pizza delivery on party night fits right in with the takeout tax math most families never run.
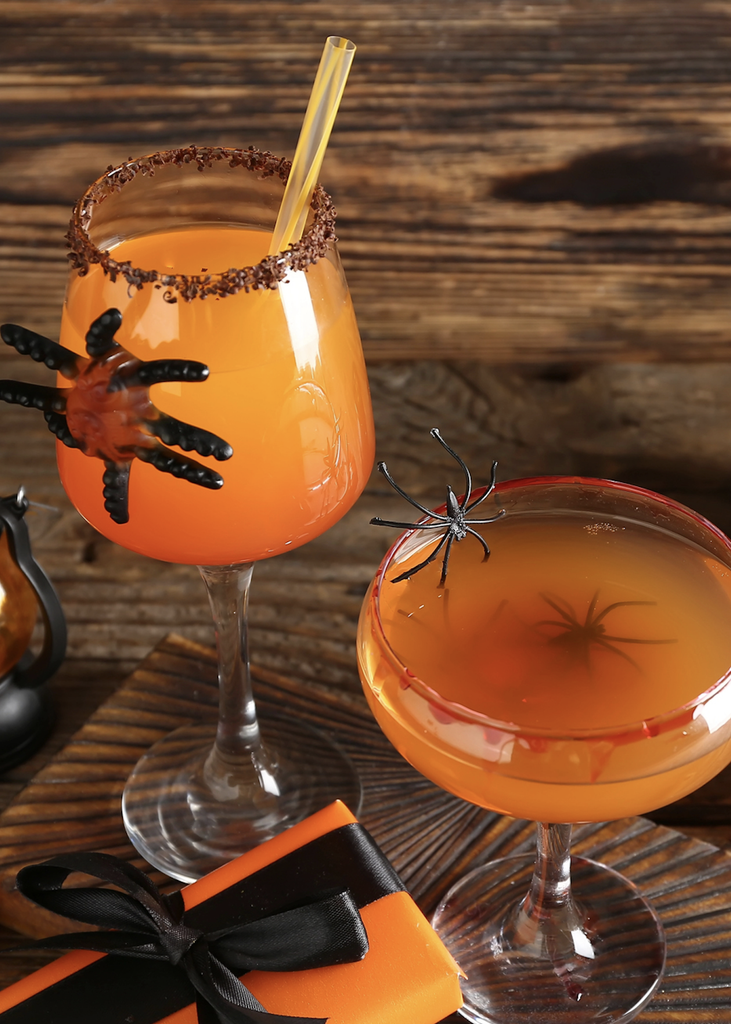
1. Witches’ Brew Punch
The best value on the list is a bowl of foaming green punch. Lime sherbet dropped into lemon-lime soda and pineapple juice fizzes into a cauldron of green foam, and it serves a whole party.
Batch cost: roughly $8 to $12 for about 40 half-cup servings.
What you need (makes about 40 half-cup servings):
- 1/2 gallon lime sherbet
- 2 liters lemon-lime soda, chilled
- 1 can (46 oz) pineapple juice, chilled
- Gummy worms for garnish
How to make it:
- Chill the soda and juice for several hours ahead.
- Pour the juice and soda into a large punch bowl.
- Right before serving, add the sherbet in scoops.
- Stir gently once and float a few gummy worms on the foam.
Timing matters more than anything else here. The foam looks best in the first 10 to 15 minutes, so don’t add the sherbet until guests are actually in the room. If the party runs long, keep half the sherbet in the freezer and add a second round later.
For extra drama, set the punch bowl inside a larger bowl with a few chunks of dry ice and a little warm water underneath for rolling fog. Handle dry ice with gloves or tongs only, keep it away from kids, use it in a ventilated room, and never let it touch the drink itself.
Compare the math: a bowl of this costs about what one bag of fun-size candy does, and it’s the first thing guests take a picture of. That’s the whole point of this list, spending a little on the stuff that gets noticed.
Pair it with the mummy pizzas and a pan of pumpkin patch brownies and you’ve covered drinks, dinner, and dessert for a whole party at somewhere around $30, depending on local prices. The traditions kids remember rarely cost much, which is true well past October, as the holiday traditions that cost almost nothing show.
The Budget Math
Most of these recipes share the same short shopping list: candy melting wafers, candy eyeballs, mini marshmallows, pretzels, and chocolate chips. Buy those once, in the biggest bags you can reasonably use, and you can make half this list from one trip.
The week after Halloween is the other money move. Candy, sprinkles, and seasonal baking supplies usually hit clearance, and most of it keeps until next year. Just skip the jumbo warehouse versions of candy you’ll never finish, one of the warehouse club buys that aren’t worth it.
Keep Reading